Hey there,
Use this guide to get your AI operating system up and running.
By the end of this, you should be able to get your your AI tool connected in a future-proof way.
That means you’re not locked in, that it knows you and how to build skills to support you.
Good luck and stay connected!
 - Nick Milo
P.S. Want to shortcut this entire process and setup your AI system right away?
[
Revisit this video anytime for a quick overview. For the full setup guide, read on.
[
Watch the video above for exact details on how to setup Obsidian so it’s ready to for you to make notes in and begin to use it with your AI tool.
- [01:54] Creating a Vault & Linked Notes: This will get you up and running with your own Obsidian vault for your notes in no time.
- [05:48] QUICK TIPS (do these ASAP): Be sure to change these settings immediately for some massive quality of life improvements as you work in Obsidian
- [07:10] Most Common Mistakes (avoid these): These won’t just save you headache now, but it’ll also ensure you’re building this on the strongest foundation possible by avoiding these traps. Here’s my advice:
- Don’t import all your old notes
- Minimize plugins (at first)
- Don’t over-organize your space
- Don’t avoid hotkeys
- [08:18] How to Make Notes Faster: The easier it is to work in Obsidian, the easier it is to work with your ideas, to use the AI OS skills and systems mentioned below, and to do your best thinking.
- [10:06] How to Organize Obsidian (ACE): Whether it’s your own ideas or your AI OS skills and systems, you need to be able to find things.
- I use the ACE folder structure (Atlas, Calendar, Efforts) in my personal system, it’s really powerful (we use it in all of our Ideaverse vaults and the Linking Your AI Starter Vault) and you can use it as well by following this section.
- But whether you have some folders already or you’re building out a few yourself, you’re also welcome to personalize your folders to how you think and work. Just don’t create too much structure early on (as noted above in the common mistakes).
- [12:21] Every Note Format in Obsidian: Obsidian can handle more than just plaintext. In this section, I run through what’s possible with adding images, audio, and more to your notes. When it comes to working with ideas, it’s opens all kinds of possibilities.
After you complete these steps, you’ll be ready to move on to the next step below.
[
youtu.be
](https://youtu.be/s3ccD6m6WKc)
Watch the video above for exact details on how to setup Claude Cowork so it’s ready to use with Obsidian. [Add other details]
- [00:32] Set up Cowork: The tools will change over time (remember when we only had ChatGPT via browser?), but this is still a great guide to get Claude Cowork up and running.
- [01:26] Cowork for Organizing: See a quick example of how I sent Cowork to a folder of screenshots and have the AI tool propose a method for sorting them. In cases like these, it’s often better to hear the approach rather than having it execute it immediately.
- [02:49] TIP: Get Better Results: The first suggestions are actually pretty broad guesses. It’s missing context. It doesn’t know me. See how to get better responses by getting Claude better context: in this case, access to my vault folder and asking it to review my actual notes.
- [04:25] The About Me Brief: This is a quick way to start your me.md file. Help your AI tool gain even more context by building a personal dossier of your goals, values, ideas, and recurring themes so it can be an even stronger assistant. We’ll show a few additional considerations lower in the guide, but this is a great foundation.
- [07:36] Create a Skill: This shows you how an individual skill works in Claude Cowork. At the time, I placed it in the Claude app, but we now recommend creating these as individual markdown files stored in your vault to avoid tool lock-in. I share more about this lower in the guide.
- [09:10] Cowork for Writing: See how Cowork can support research and writing as it builds out notes within Obsidian. In this example, I use it to:
- Identify common themes
- Surface contradictions
- Pull out useful starting points
However, the whole time, while AI surfaces these ideas and sticking points, I’m the one who resolves them and will dig in for myself.
- [14:33] Weekly Review in Obsidian: Watch as I point Cowork at my recent notes and active projects to have my AI tool create a holistic briefing on what matters, where I’m at, and what I might be forgetting. This is a great example of a useful skill that can support personal reflection and practical alignment with your goals. No coding needed, I just asked the AI tool in plain English and can adjust and tailor it further the same way.
By the time you finish this, you’re ready to move to the next step…
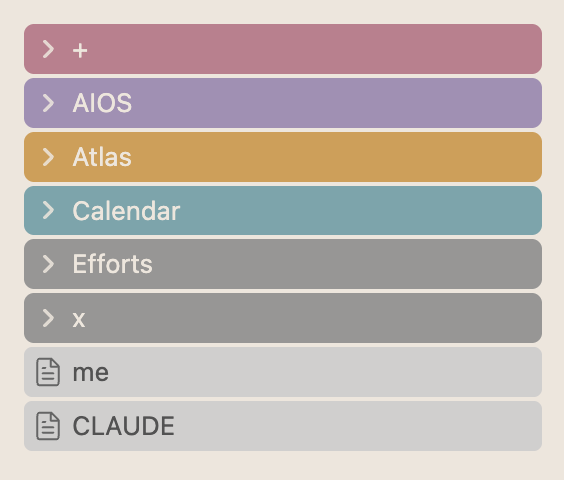 If you don’t have it already, we recommend creating an AIOS folder at the top level of your vault.
This is where your AI tool can work out of. Along with those, let’s create a few key maps.
If you don’t have it already, we recommend creating an AIOS folder at the top level of your vault.
This is where your AI tool can work out of. Along with those, let’s create a few key maps.
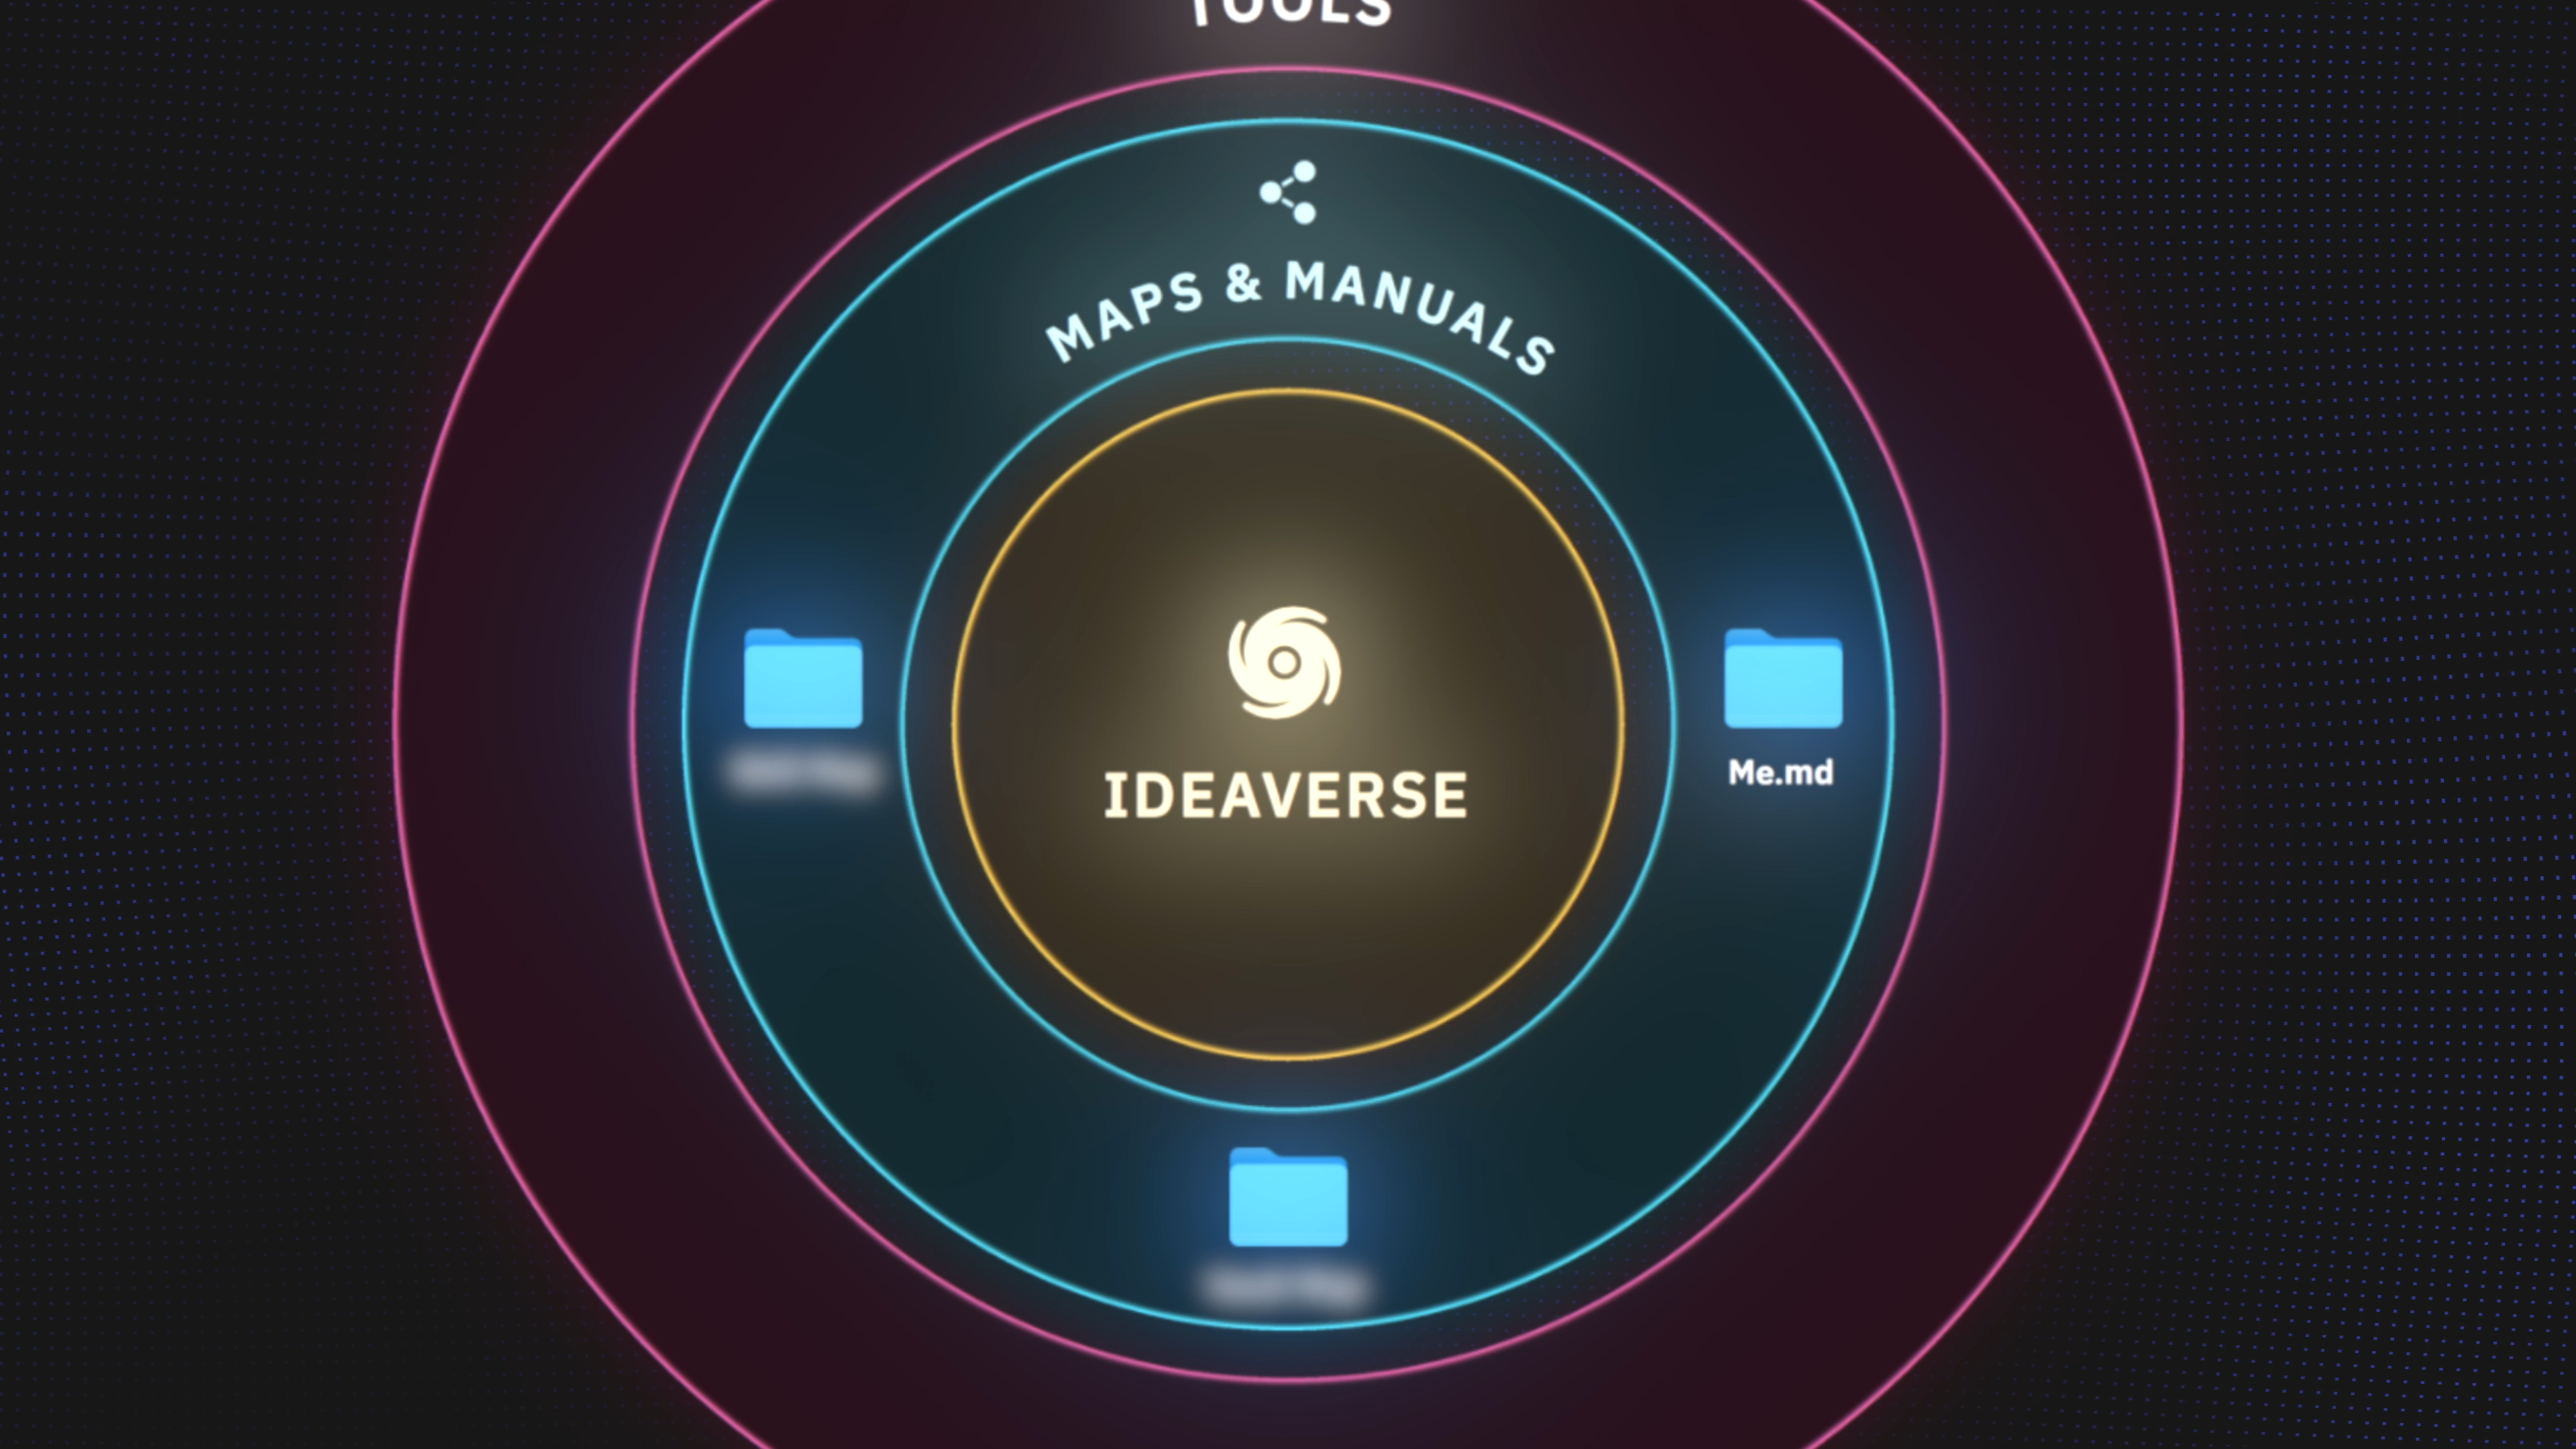 The me.md file ensures that your AI tool understands you and how to work with you. This means your AI tool will have fuller context when working with you so you don’t have to keep re-explaining things.
This is such a critical file that it actually replaces my CLAUDE.md file entirely. Here’s what my CLAUDE.md file looks like:
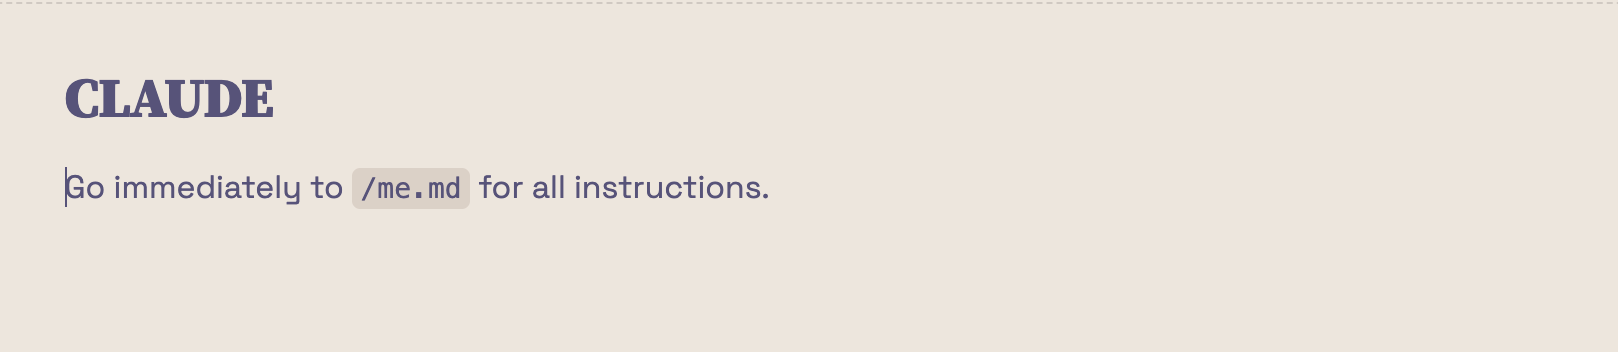 The biggest benefit of this approach is that nothing is locked into Claude or any other AI tool. If I want to switch to Codex or a different tool tomorrow (as long as it has folder access), I just point it to my me.md file and it’s ready to go.
Now more than ever, AI companies are trying to lock us into their systems and make it harder and harder to switch. Your AI OS folder is the drawbridge that gets you around their moat.
Below is the temporary me.md file that we include in our Linking Your AI Starter Vault:
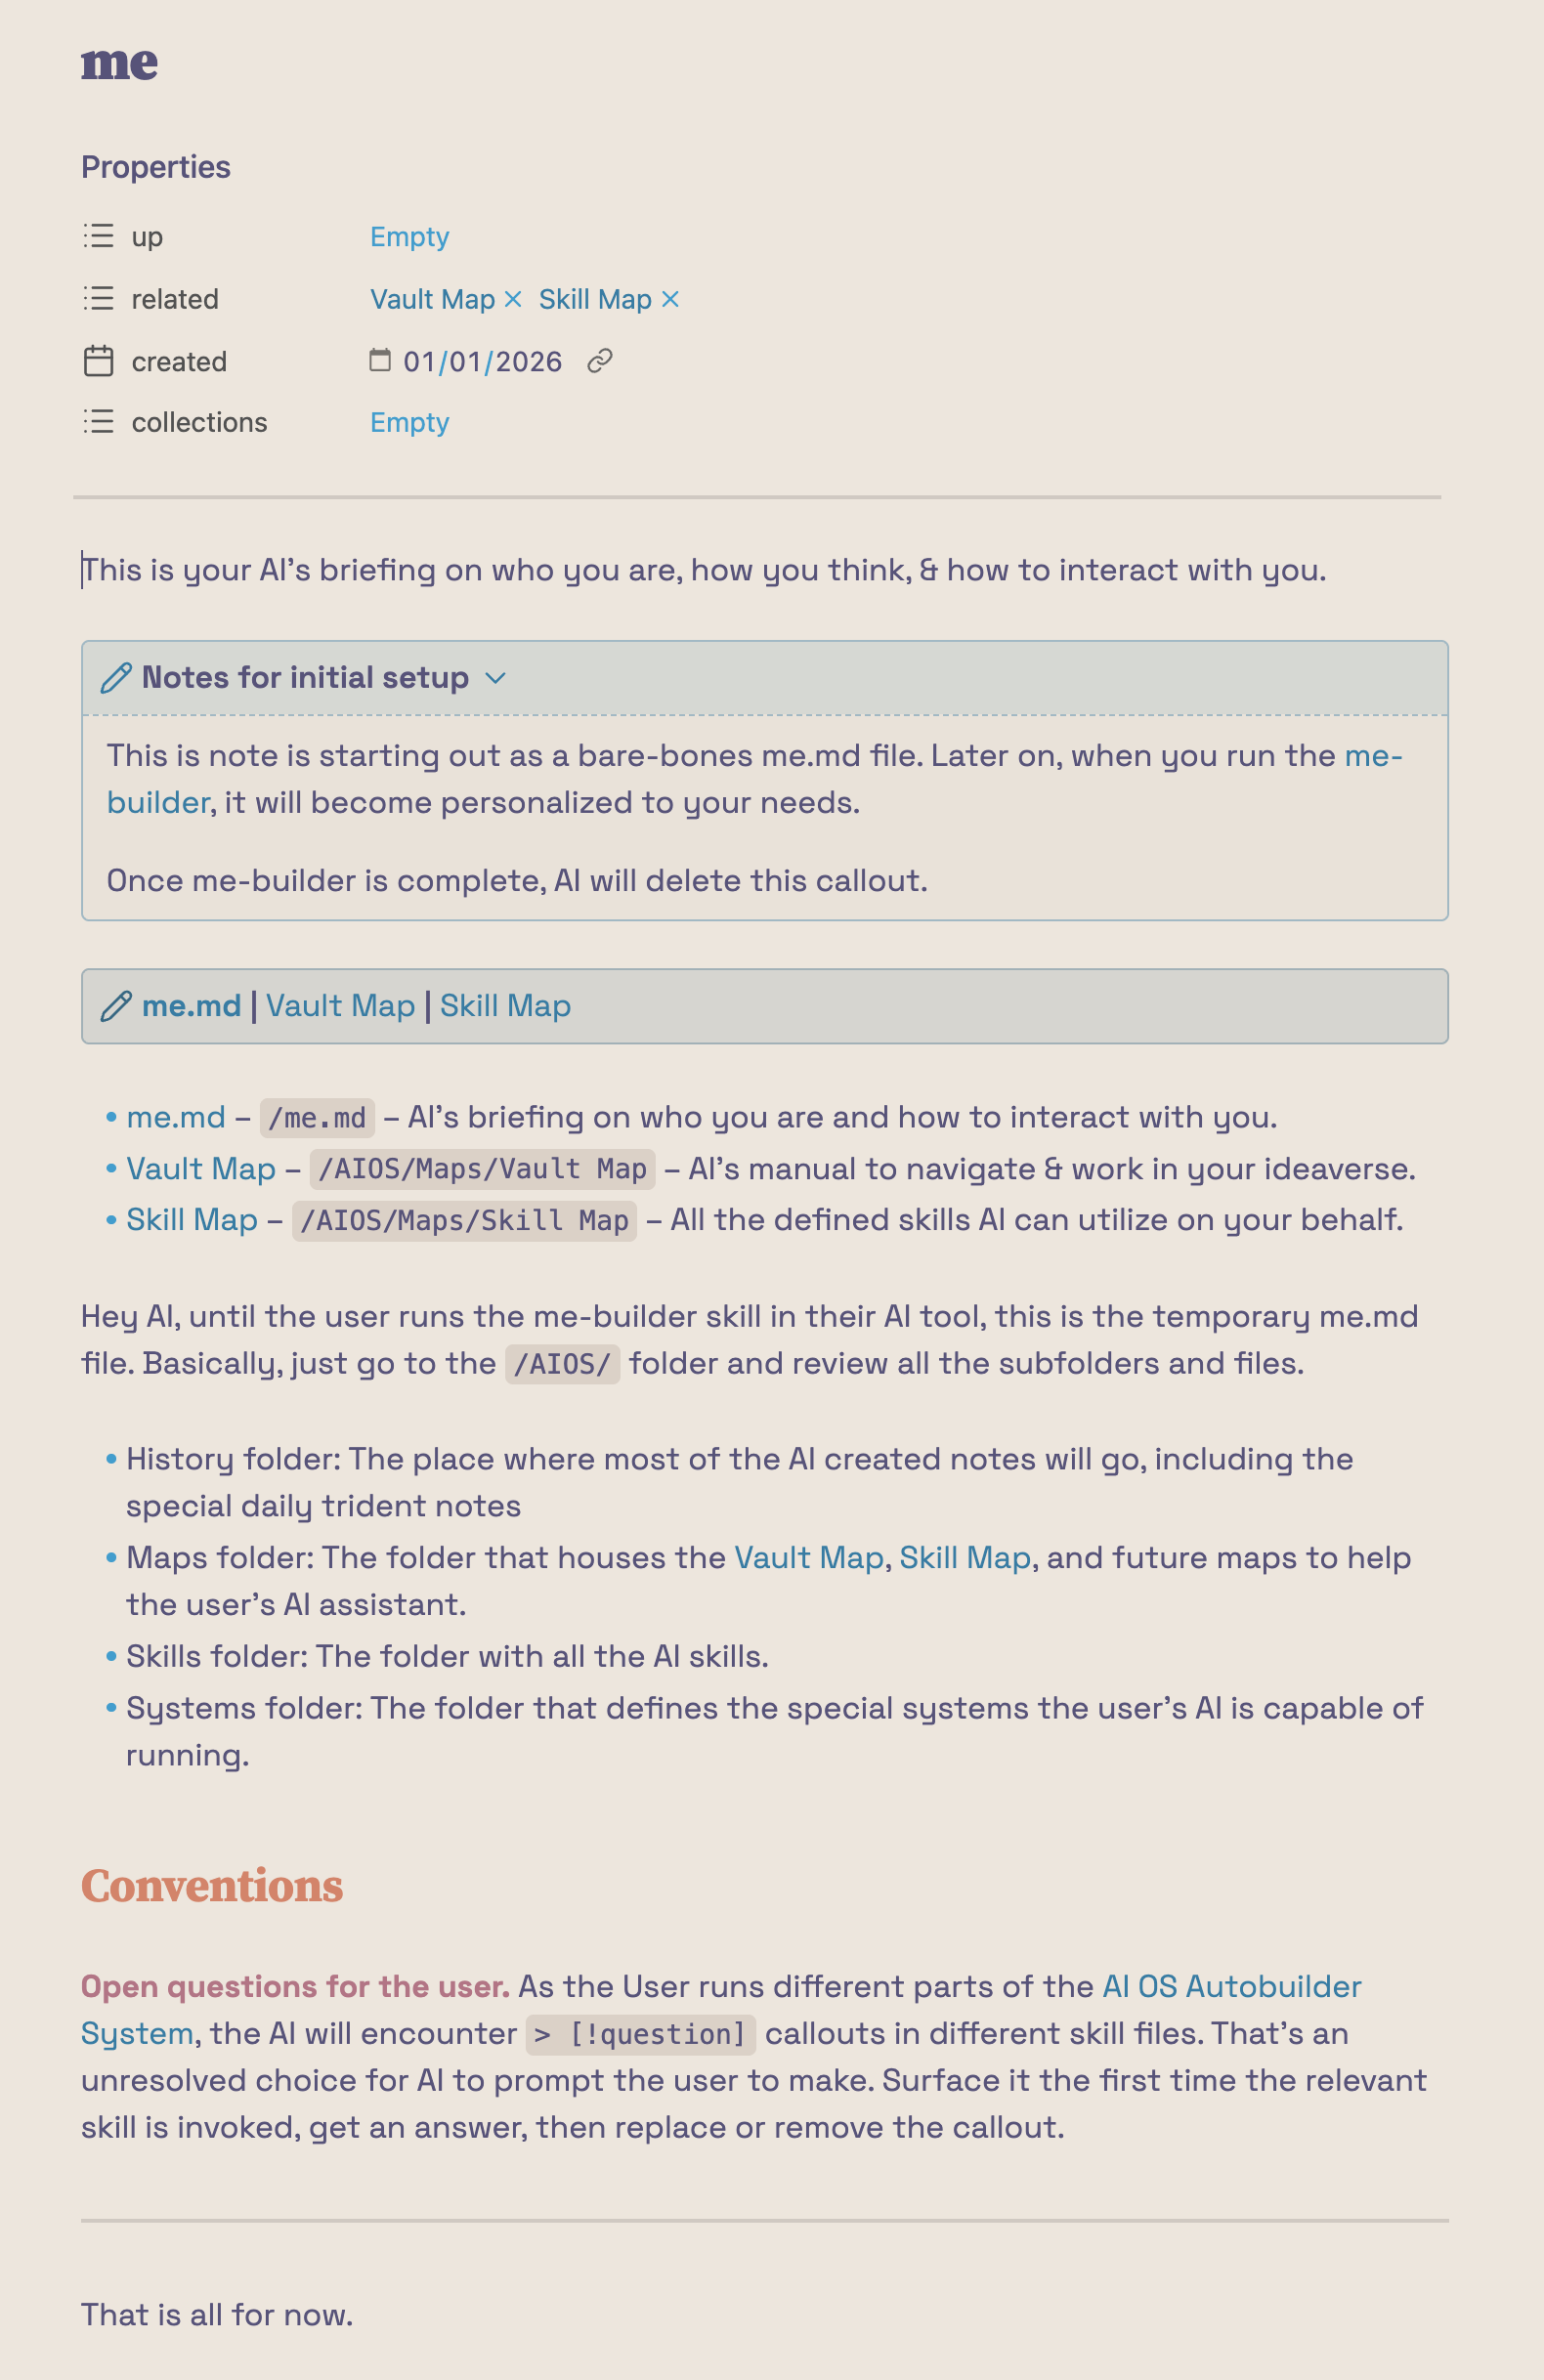 Initially, it mainly points out to the core three documents that the AI tool needs to navigate in the AI operating system.
From here, the user can then run the AI OS Autobuilder System and it will begin to prompt the user with questions to further personalize it and help ensure your AI tool can work effectively as an assistant and more.
We recommend at least having few key sections in your me.md file:
- Links to the three core notes: Adding links and brief explanations of what the me.md, Vault Map, and Skill Map are ensures that your AI is always pointed in the right direction.
- My Summary Statement: This is an AI distillation of who the user is. Ours is generated by a vault scan from the AI tool, but this can also be written yourself if needed.
- My Working Preferences: This is the user’s daily working contract with their AI. Things like how to be addressed, tone, response length, and important rules can be noted here.
- I recommend adding thing rules such as ensuring AI asks before taking external actions, telling it to only create new notes in the AIOS folders, not allowing AI to rewrite the user inside notes, and any other non-negotiables you might have when working with AI tools.
- The video above has a great demonstration in building an About Me brief.
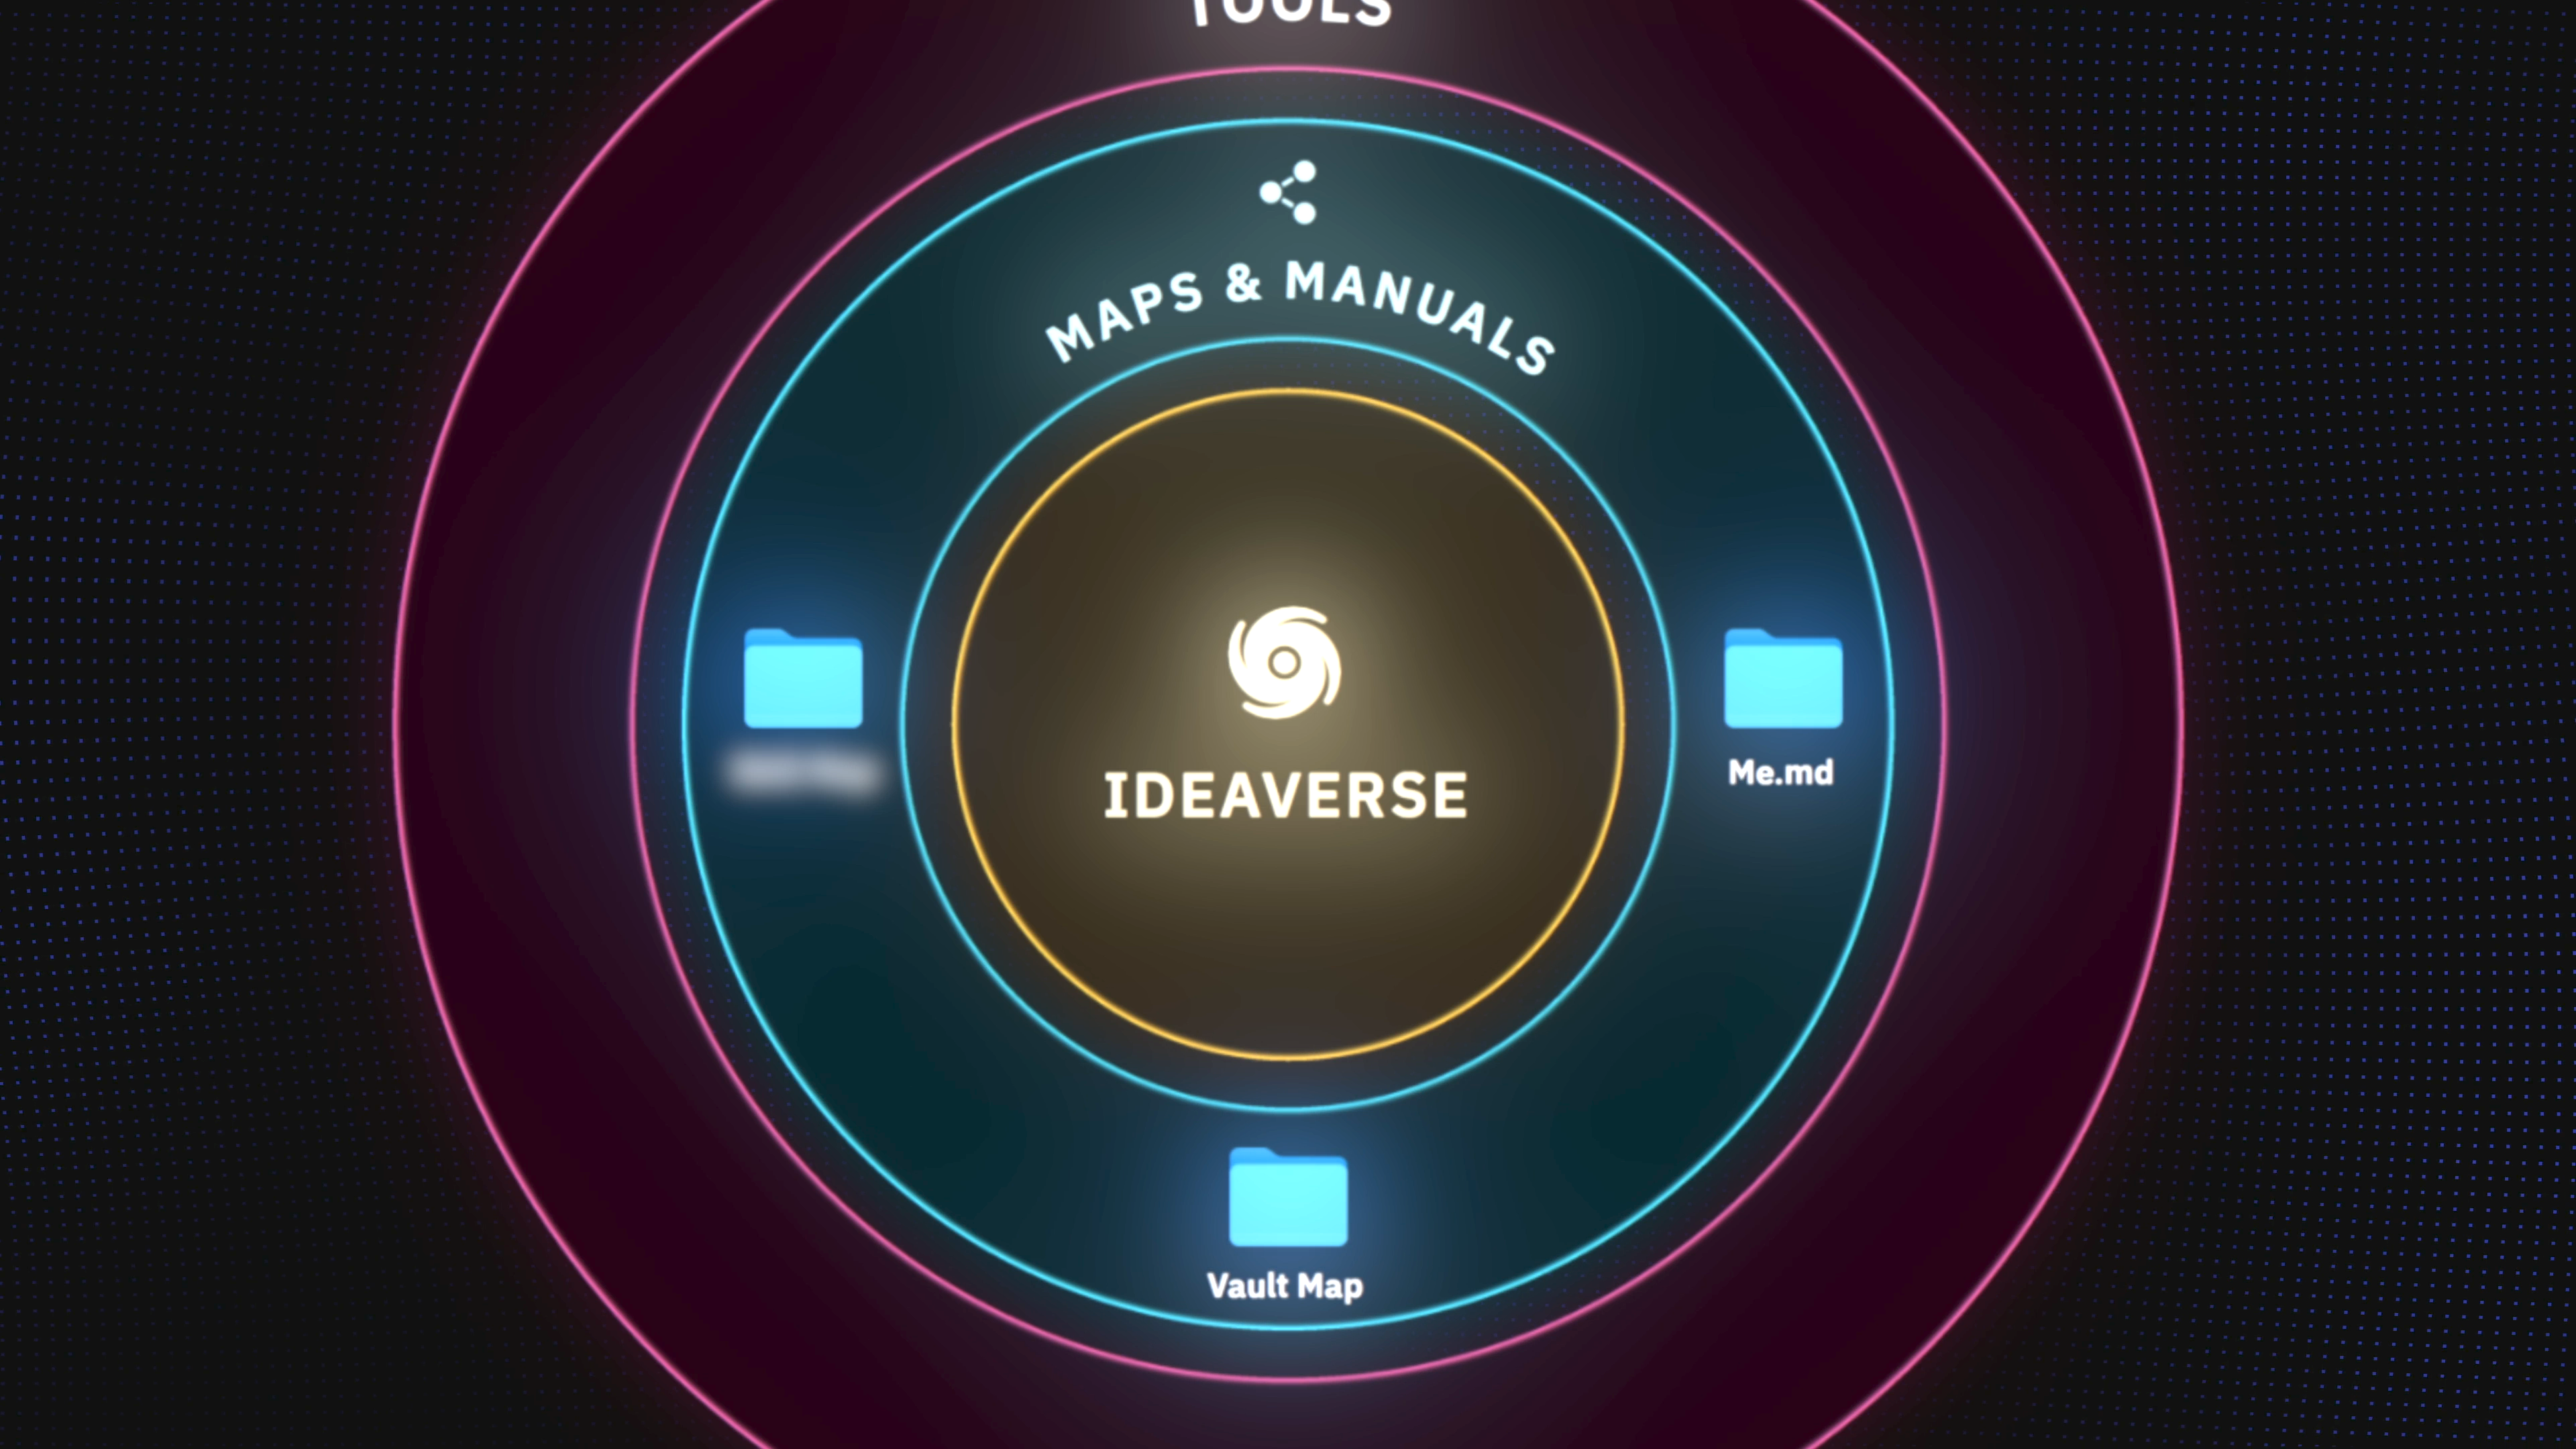 The Vault Map answers a specific question: how should AI move through your notes? Think of it as your vault’s table of contents and manual.
Again, this is all about increasing the context that your AI tool has. It means you’ll be re-explaining less and increasing the speed at which it’s working within your notes.
It knows where your notes and ideas are located, it knows where it should be adding AI-generated notes from any skills you run (again, ensuring that they’re not intermixed with your own personal notes), and more.
You can see part of my Vault Map here:
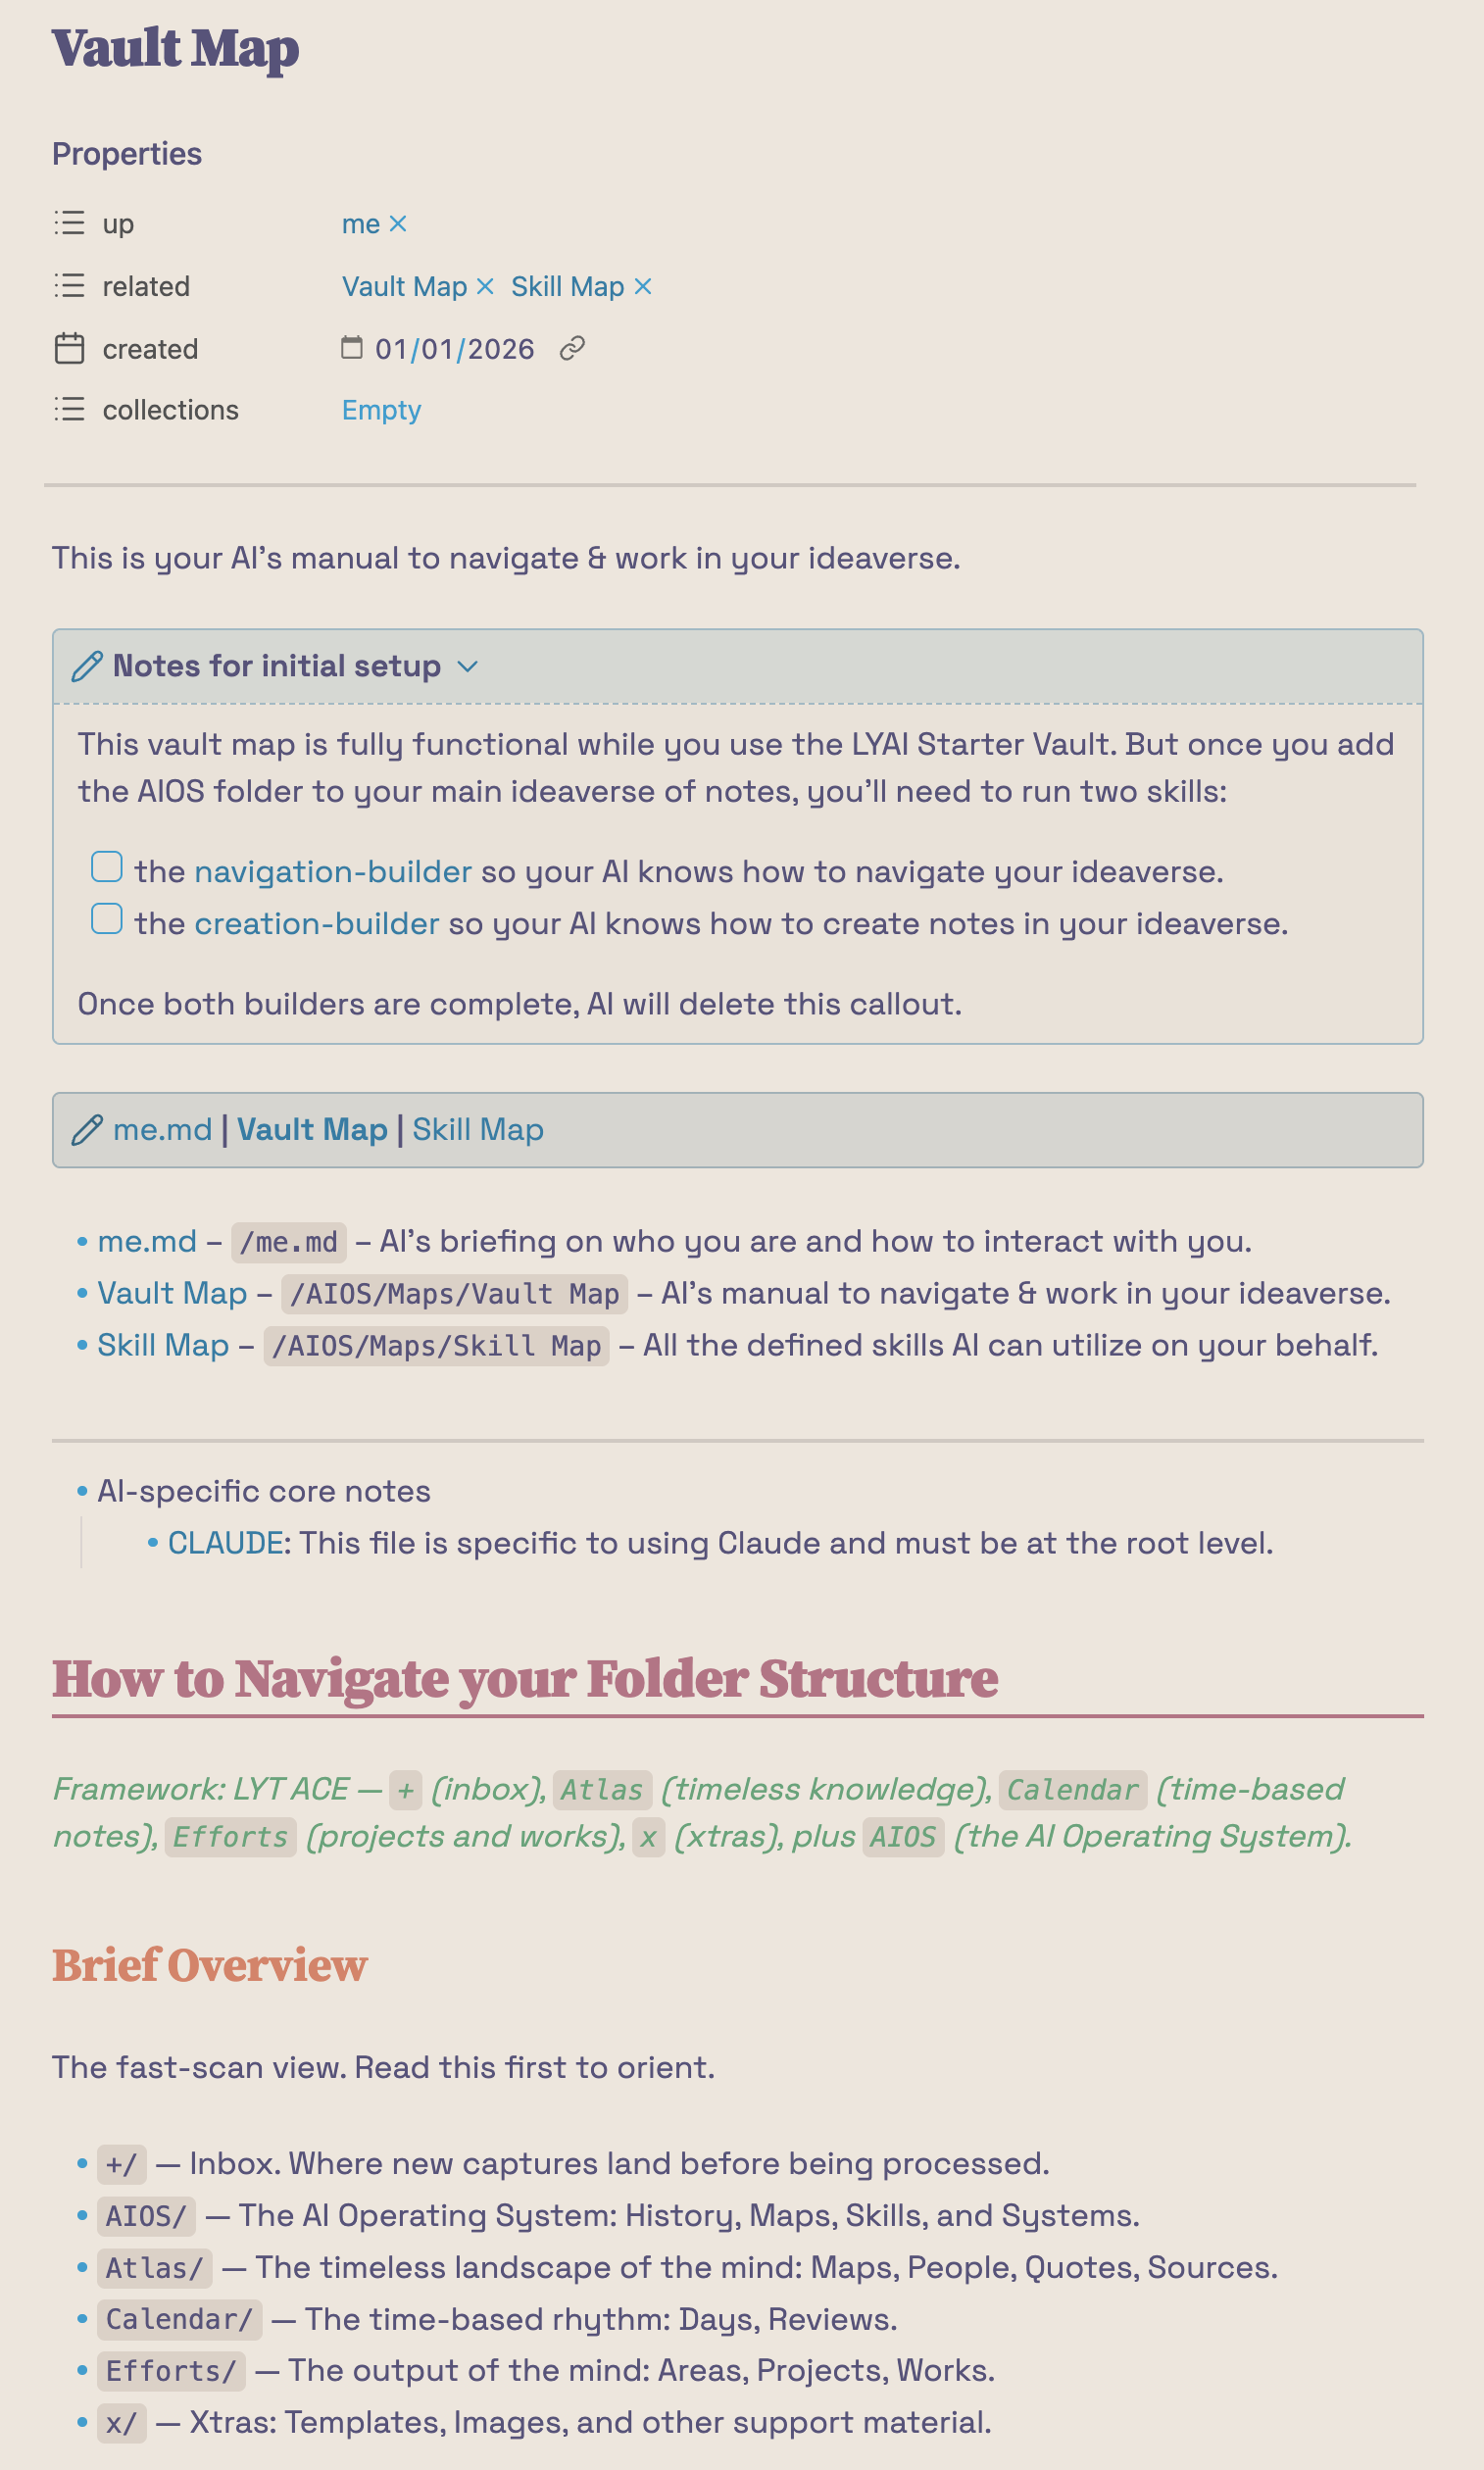 This is a great foundation, but you can take it even further. I have a section in mine explaining how to create notes properly, what note templates to use and when, where to place files by default, and more.
One of the big benefit of today’s AI tools is that you don’t need to code any of this or any of my AIOS files. I just add sections in plain English and it’s not just useful for the AI tool, it means I can go back later and personalize it even further.
This should get you on the right track, if you want exact details on my setup, check out Linking Your AI.
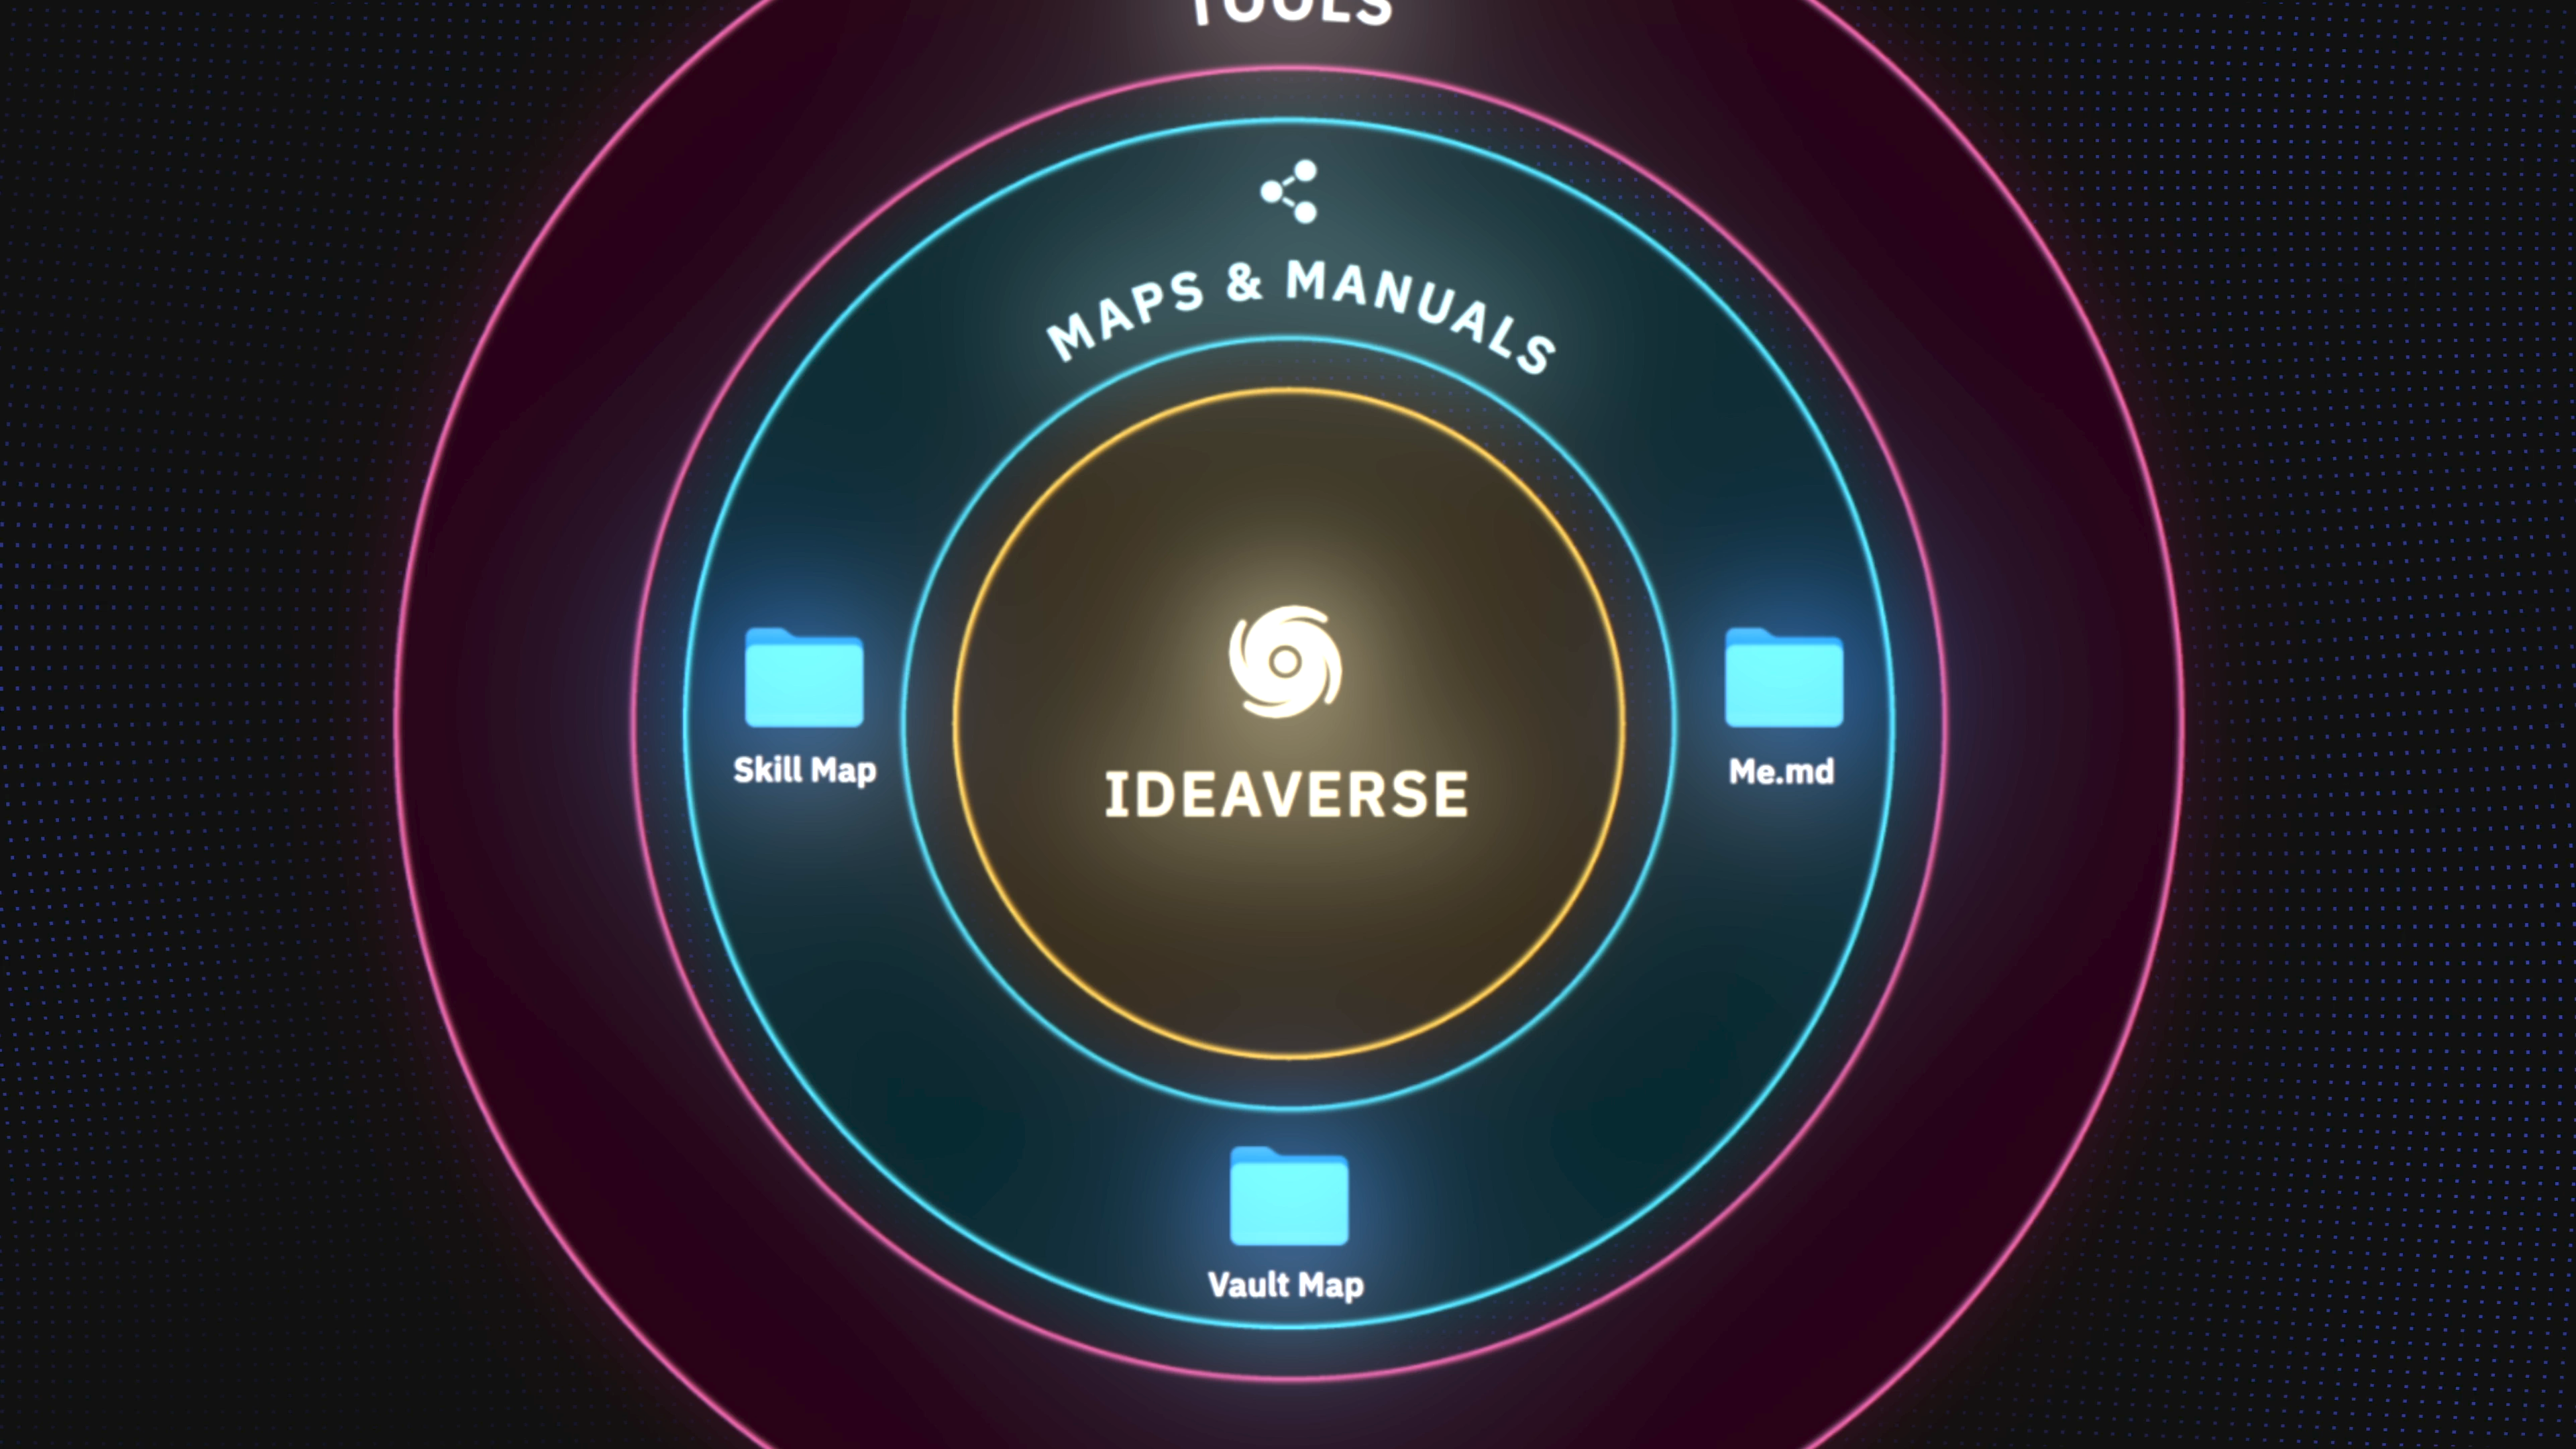 The Skill Map gives very clear instructions about what skills exist for AI, what they do, and exactly when AI should use them.
Again, and I want to emphasize this, keep your skills here****–in your notes. Not in Claude’s application, not in any other AI tool.
It might be more convenient initially to use their tool, but it makes it that much harder to switch tools later.
I use Claude to create these skills, I just ensure they’re created as markdown files in my vault rather than in Claude’s own ecosystem.
The Skill Map ensures that your AI tool, in my case, Claude Cowork, understands all of the skills and systems available to it and when to trigger them.
The Skill Map is also a great resource for you to zoom out and take a look at a full list of all of your current skills. Reflect on how your AI tool is supporting you and where you might want to explore creating a new skill or system.
In Linking Your AI, I’ve combined a few skills into a larger system that leverages several of them in larger workflows. Whether you’re managing individual skills or whole systems, the Skill Map is a great resource to manage them. You can see some of our LYAI Starter Vault’s Skill Map below:
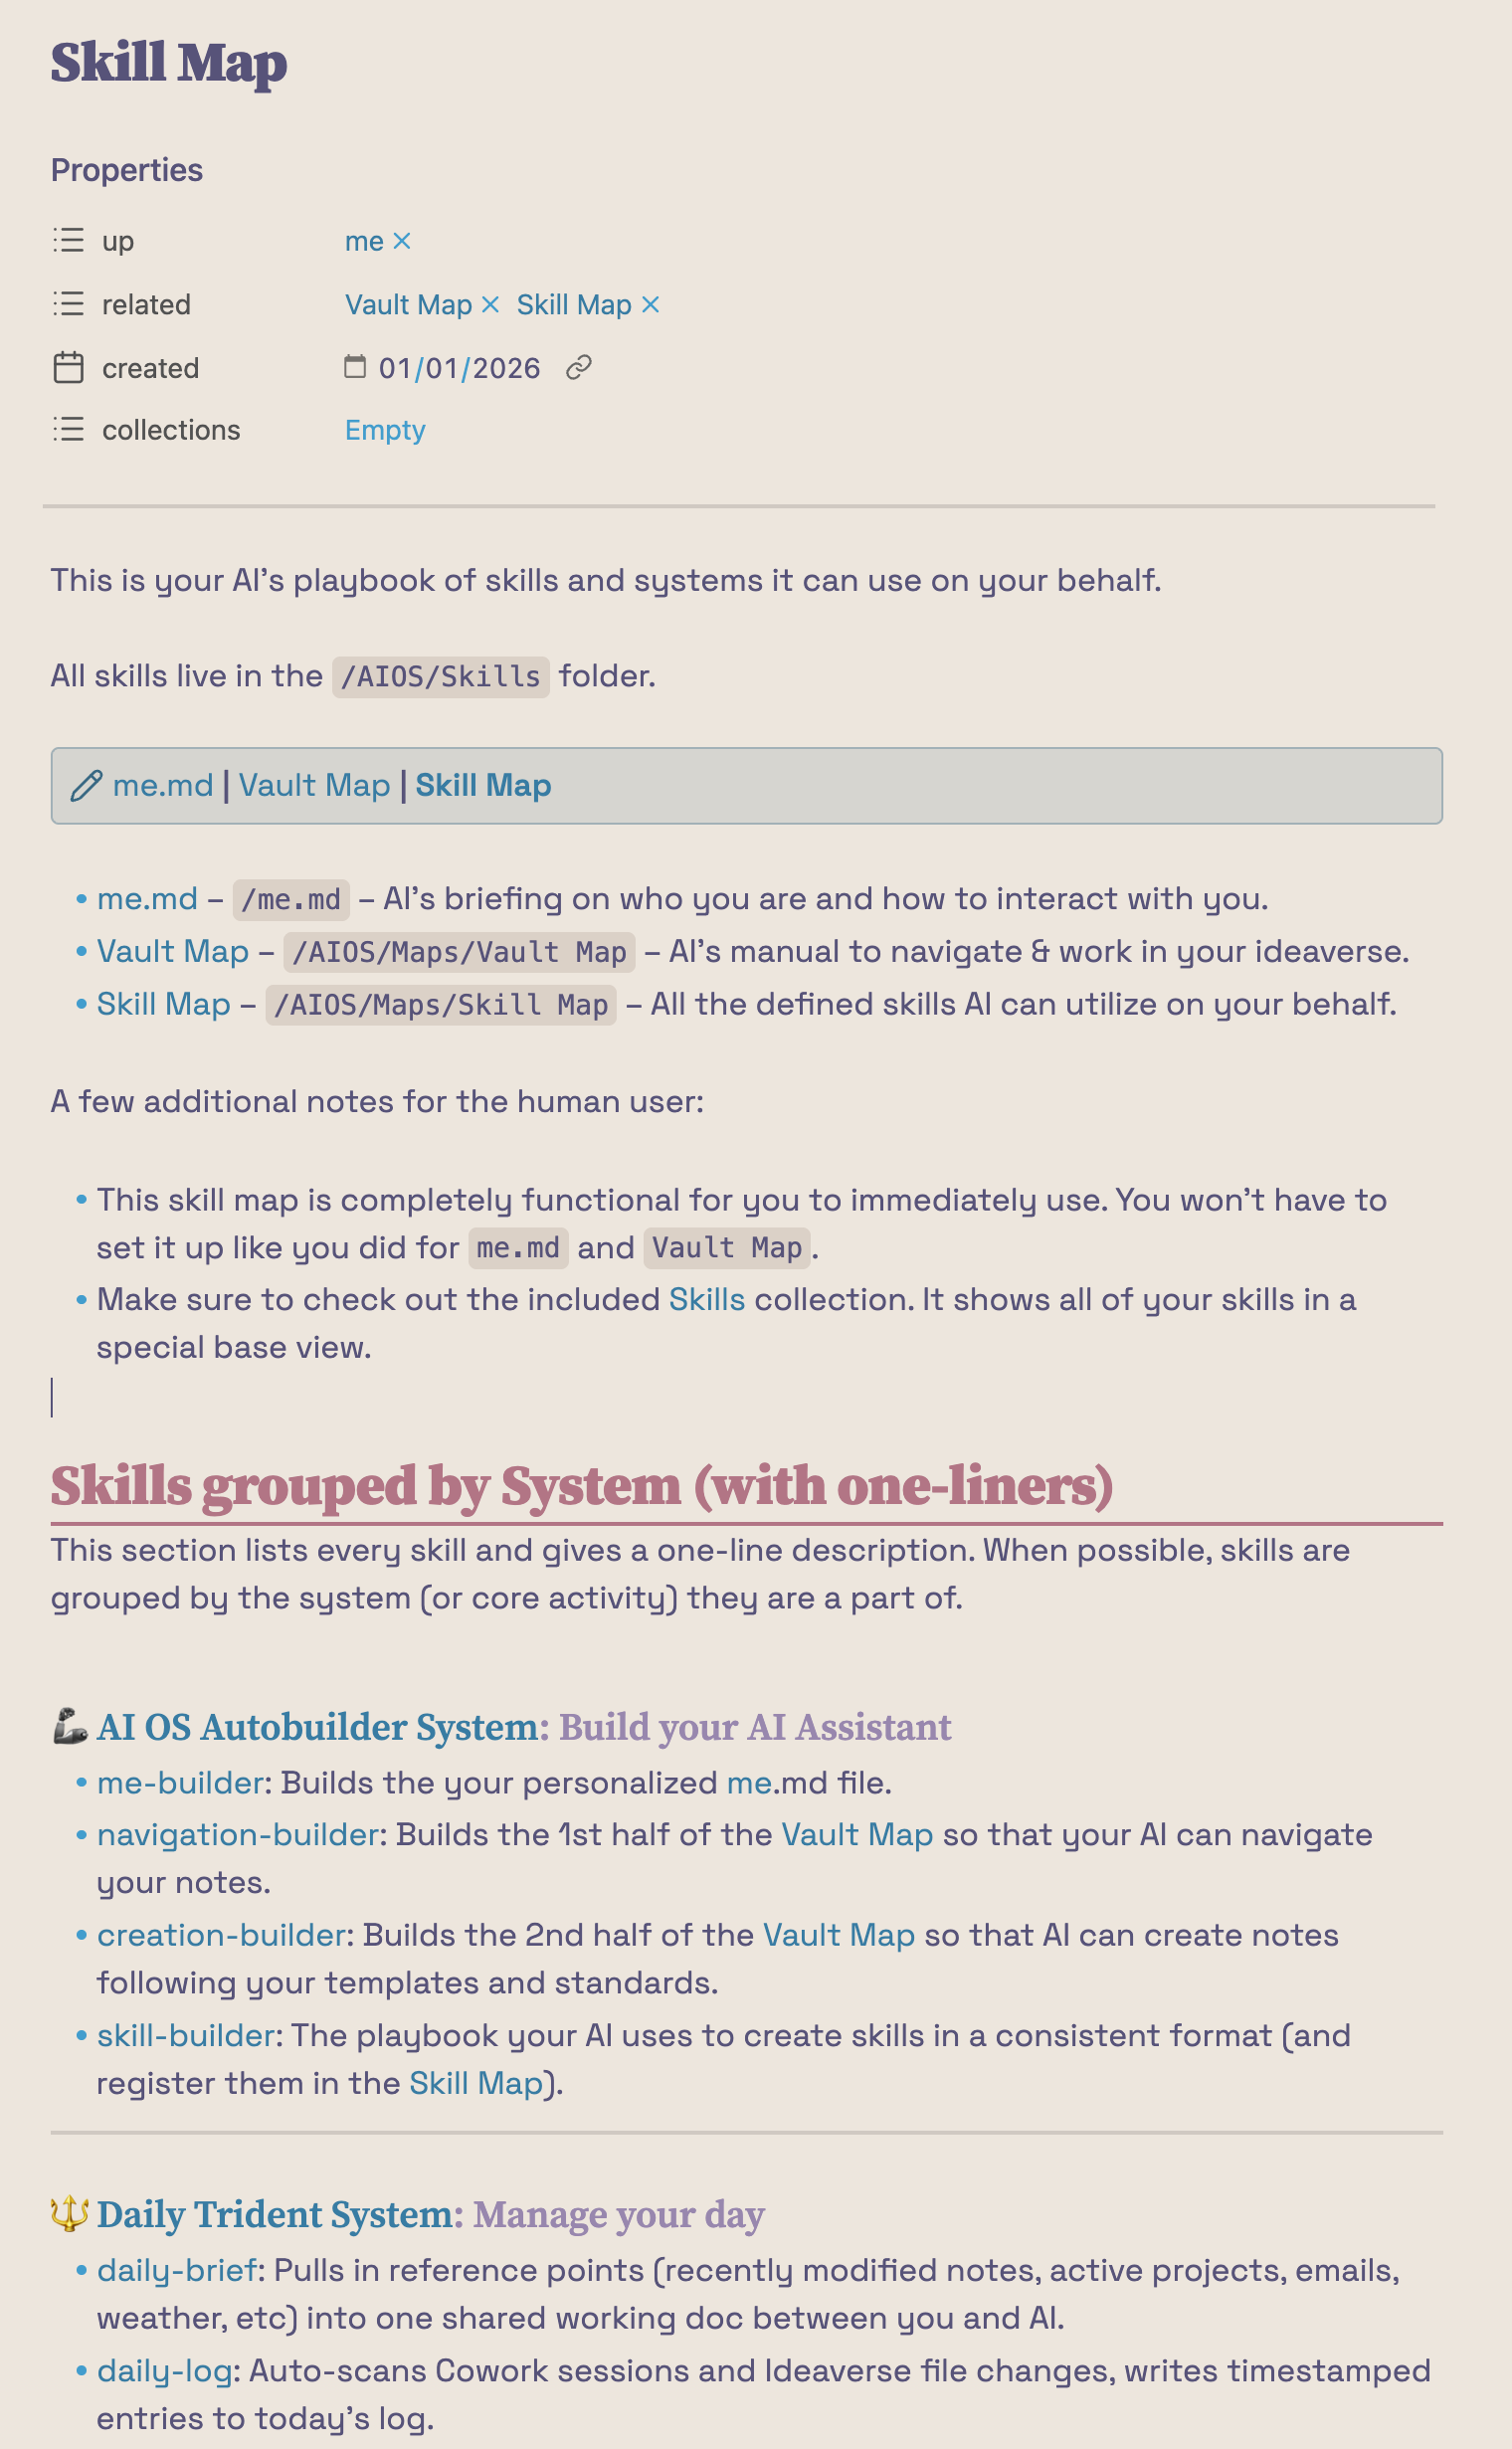 Note that while I didn’t screenshot additional skils and systems, that’s because I have all of them listed lower in this guide. ⬇️
When building your own skills, here are a few more tips:
- Ensure each skill is its own note: that way you can easily point your AI tool to it.
- In that note, spell out the purpose: what does the skill do, in one sentence?
- Note triggers such as a phrase to invoke it in your AI tool.
- Note dependencies it uses such as MCP, APIs, or tools.
- Want some inspiration? Take a look at my list of systems and skills below.
Linking Your AI is a practical system to help you build your own AI assistant. Join now to create an assistant that understands your notes, supports your thinking, and saves you time. While LYAI instantly gives you 23 robust skills & 8 fully-functional systems, we also walk you through what makes a skill useful, help you personalize the existing ones, and guide you to build your own.
Take the power back from the tech lords.
Own your AI assistant.
Download the system. Follow the lessons. Build your powerful and personal Al assistant.
GET THE FULL LINKING YOUR AI COURSE HERE
“I wanted to use AI inside Obsidian and didn’t know how to set-up skills or give info to AI in a scalable and future-proof way.
This course taught me that workflow and also came with all the Skills and Systems already built in and proved, so it was just the thing I needed. I love it!”
- Jamie
.png) I’ve shared some advice on building your own skills. I want to share a bit more about mine for some further inspiration. These are all of the skills and systems that support me today. You can see the individual skills listed below each system.
I’ve shared some advice on building your own skills. I want to share a bit more about mine for some further inspiration. These are all of the skills and systems that support me today. You can see the individual skills listed below each system.
All of them are located within my AI OS folder which means should I ever decide to swap out Claude Cowork, I just need to take this Obsidian vault folder over to another AI tool and I’m ready to go. That’s the definition of future-proof!
- me-builder: Builds the your personalized me.md file.
- navigation-builder: Builds the 1st half of the Vault Map so that your AI can navigate your notes.
- creation-builder: Builds the 2nd half of the Vault Map so that AI can create notes following your templates and standards.
- skill-builder: The playbook your AI uses to create skills in a consistent format (and register them in the Skill Map).
- daily-brief: Pulls in reference points (recently modified notes, active projects, emails, weather, etc) into one shared working doc between you and AI.
- daily-log: Auto-scans Cowork sessions and Ideaverse file changes, writes timestamped entries to today’s log.
- sherpa: Asks you universal questions about a topic and then builds a starter MOC in your voice.
- style-guide-MOC: A powerful reference guide for what a well-shaped MOC looks like. (Used by the sherpa skill.)
- weekly-review: Analyzes the previous weekly review-preview notes, the current week’s daily notes and briefs, and fills out its own weekly review-preview note.
- rock-tumbler: A thinking partner for any creative endeavor. Asks what kind of feedback you need, surfaces blind spots and tensions, never writes your final product. Built on the IDI framework and K. Anders Ericsson’s fast-feedback principle.
- style-guide-writing-AI: AI trope blacklist — reference to avoid AI-flavored language in outputs.
- style-guide-writing-me: the lightweight style guide version for LYAI students.
- verbatim: Save an AI conversation word-for-word to a note (often a new note, but works for existing notes too)
- summarizer: Summarize a conversation, meeting note, or transcript into a fixed structure (Summary, Takeaways, Topics, Next Steps, Transcript).
- quick-append: Quickly append a chunk of an AI conversation to a note (defaults to the daily note, unless given a different note).
- cascade: Propagate a *name change* across body text, frontmatter, paths, and scheduled tasks. Skips history files.
- harmonize: Propagate a *convention change* across notes that have shared conventions (rules, formatting, headings, labels, structures).
- navigation-janitor: The other side of `navigation-builder`. Audits the first half of the Vault Map and ensures all text, notes, links, and instructions are in alignment.
- creation-janitor: The other side of `creation-builder`. Audits the second half of the Vault Map and ensures all text, notes, links, and instructions are in alignment.
- skills-janitor: Audits your skill files against the schema defined by skill-builder. Fixes drift.
Take the power back from the tech lords.
Own your AI assistant.
Download the system. Follow the lessons.
Build your powerful, personal, and future-proof Al assistant.
GET THE FULL LINKING YOUR AI COURSE HERE
“I found the course to be very practical with some super pre-made work done for me that I only needed to tweak into my own system and world…
…I am coming out with a tremendous executive assistant, so thank you very much!”
- Bryan Thompson
Review this guide anytime to revisit my structuring advice, best practices, inspiration, and more.
You will have built a future-proof system that integrates with today’s AI tools and beyond and you’ve got the skills to create your own skills that support your work.
You don’t have to go it alone. This is what I do (for work and for play), and I’ve been in the weeds for months dedicating an obscene amount of time to create what I think is the best on-ramp for people to build an AI assistant of their own.
Check out the page linked below. I’ve built not just the systems and structure, but lessons that guide you along the way.
You just have to follow three easy steps…
- Get a fully-functional AI operating system. Instantly save several months of your time and energy with a stress-tested and proven system.
- Learn how to use it. You don’t have to go it alone. We guide you forward—making sure you learn the systems by using the systems.
- Make it your own. Create your own skills, systems, and customize your AI assistant to meet your personal needs.
Take the power back from the tech lords. Own your AI assistant.
Download the system.
Follow the lessons.
Build your powerful, personal, and future-proof Al assistant.
GET THE FULL LINKING YOUR AI COURSE HERE
“I wasn’t sure where to start - ‘How do I link these things together? How do I get content from here to there? How do I capture what I’m working on?’
Well, now I know! You automated the hard stuff so that I can focus on bringing my best brain to the thoughts and tasks I want to engage with.”
- Katherine Ogilvie
The first two Linking Your AI lessons are available here for free!
These are two introductory videos–they are not the juicy, in-depth walkthrough videos–but you’ll still get a vibe and a quality overview.
Check out the style, guidance, and nuance in the course.
Most people new to us are surprised at high the level of quality.
If you like what you see, here’s what Lesson 1 looks like in the actual course.
.png) In the course, it’s not just a video pasted into a lesson.
You get text, takeaways, and next actions.
Plus, you can see many of the lessons on the right.
In the course, it’s not just a video pasted into a lesson.
You get text, takeaways, and next actions.
Plus, you can see many of the lessons on the right.
Like what you see? Join now.
Take the power back from the tech lords. Own your AI assistant. Download the system, follow the lessons, and build your powerful, personal, and future-proof Al assistant.
GET THE FULL LINKING YOUR AI COURSE HERE
“I feel much more confident in how I use and structure AI.
Before I was throwing things at it, experimenting and seeing what happens which was sort of useful but nothing hugely exciting.”
- Kelly Bloomfield
“It has 100% reignited my passion to continue building out my PKM/second brain vault in Obsidian…
I’m very passionate about keeping my knowledge safe and somewhat detached from big tech, so this approach is exactly what I need.”
- Carlee Potter
“A positive outcome I had using LYAI was, that my research project developed much faster and got enriched by a lot.
Some boring (administrative) work was lifted off my shoulders. That allows me to have more time to think more deeply.”
- Alexander
“I have created skills I have been wanting to create for a long time and these skills are now fully integrated into my Obsidian vault. Doing this was quick and easy…
All together this class has been extremely empowering.
I feel I now have the freedom and tools to do amazing work.”
- Tom